

Ich mag Radieschen nicht besonders, aber in Knoblauch und Zwiebeln eingelegt sind sie super. Ich hatte vor kurzem eine große Tüte voll mit Radieschen vom meiner Mama bekommen und sie gleich eingelegt. Super lecker. Ich habe den Zucker mit einer gesünderen Alternative substituiert und dafür Ahornsirup verwendet. Den Unterschied schmeckt man nicht wirklich. Guter Tausch!
—
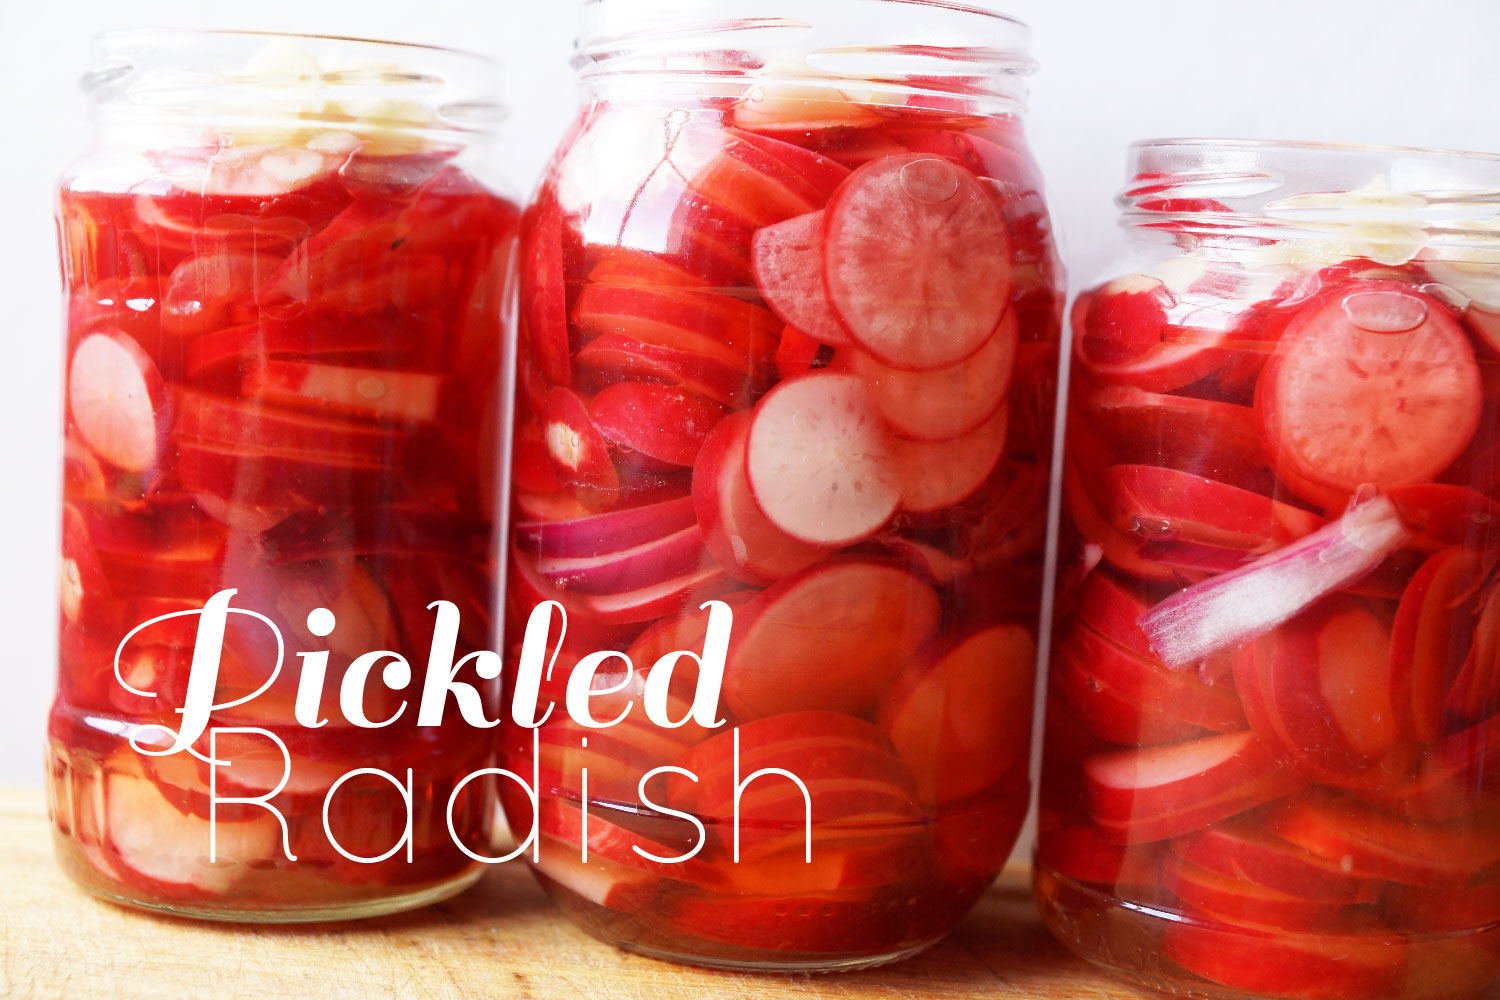
I don’t really like radish but I do eat them pickled with onion and garlic. A couple of weeks ago I got a big batch of radishes from my mom and pickled them immediately. Super tastey. I substituted the sugar for a more healthy alternative. Maple syrup that is and you can’t really taste the difference. Pretty good exchange!
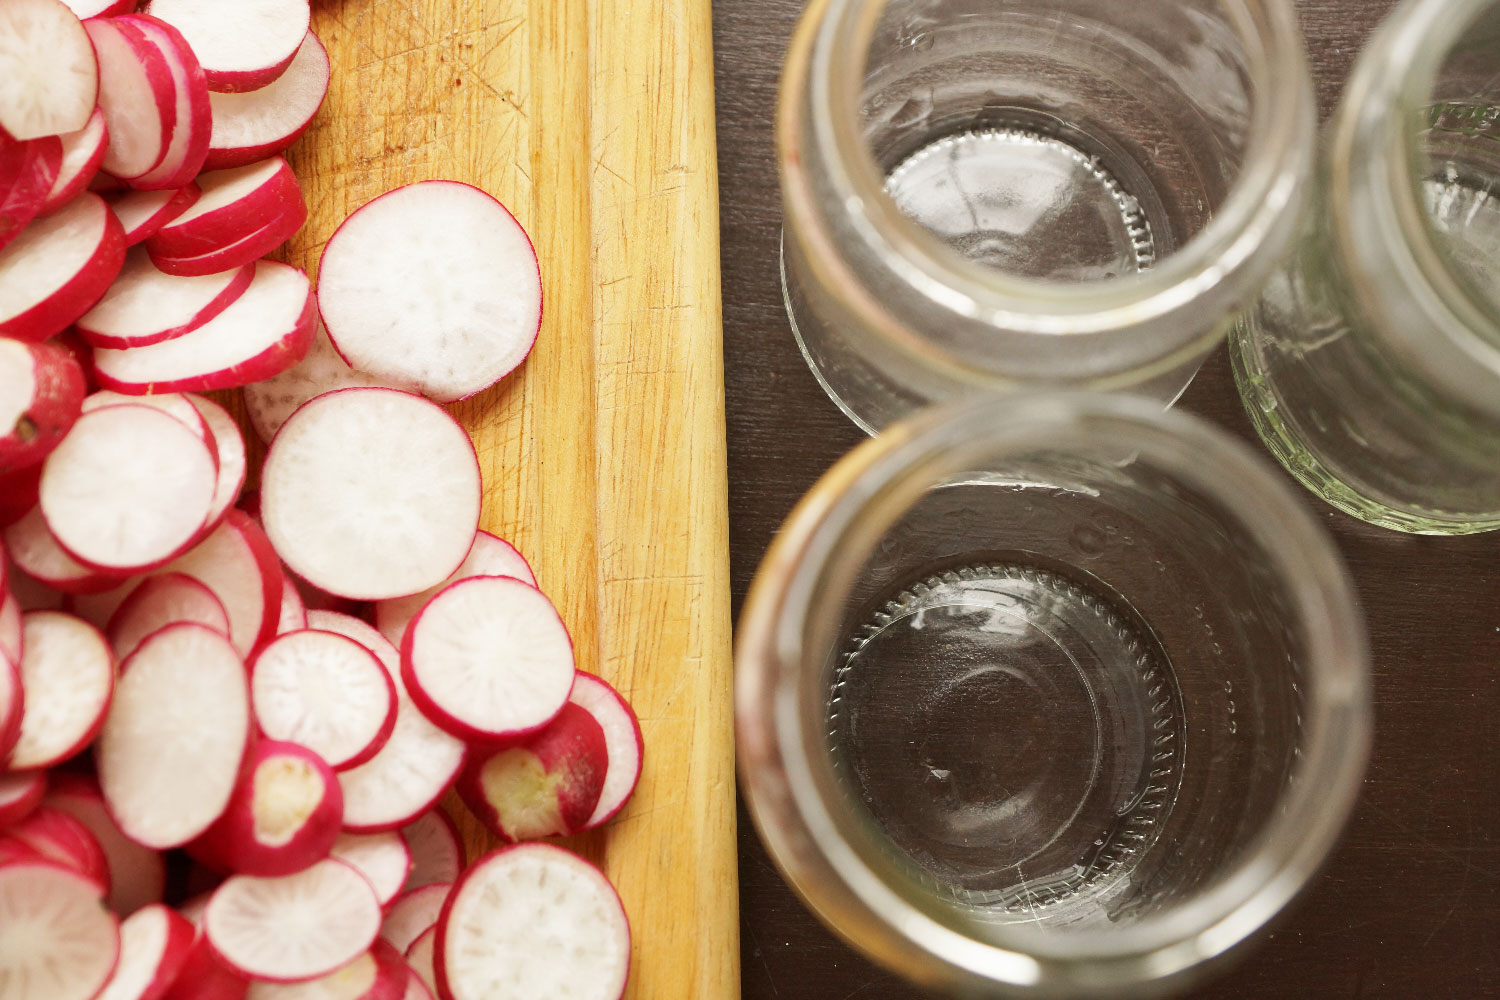
Recipe (yields about 3 x 250ml/8 oz jars)
What you’ll need?
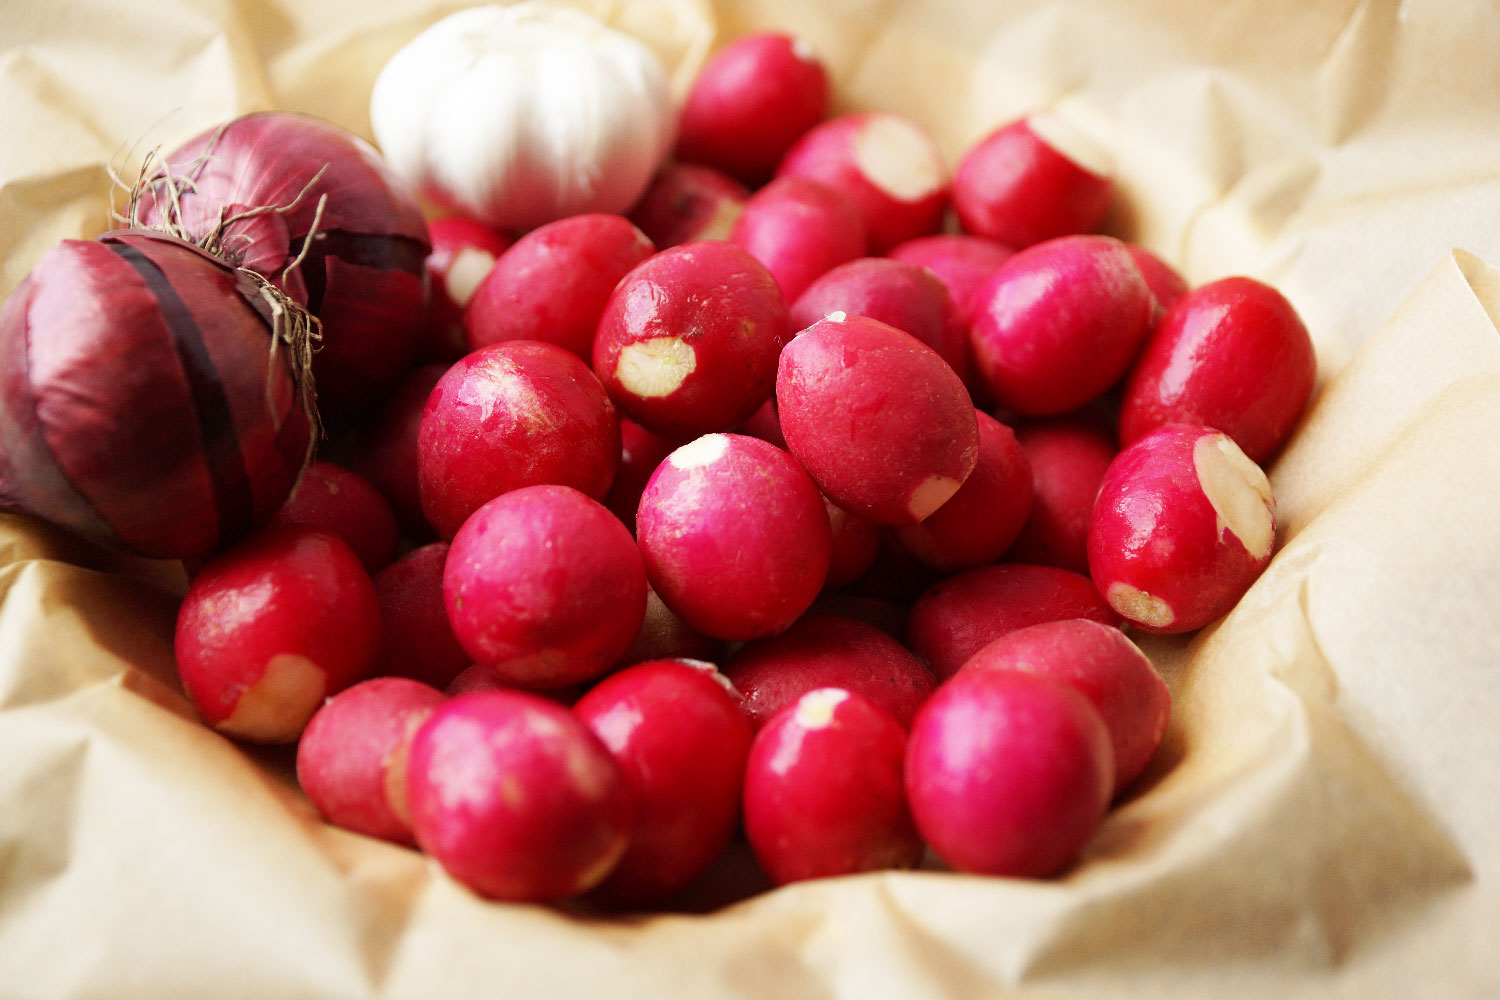
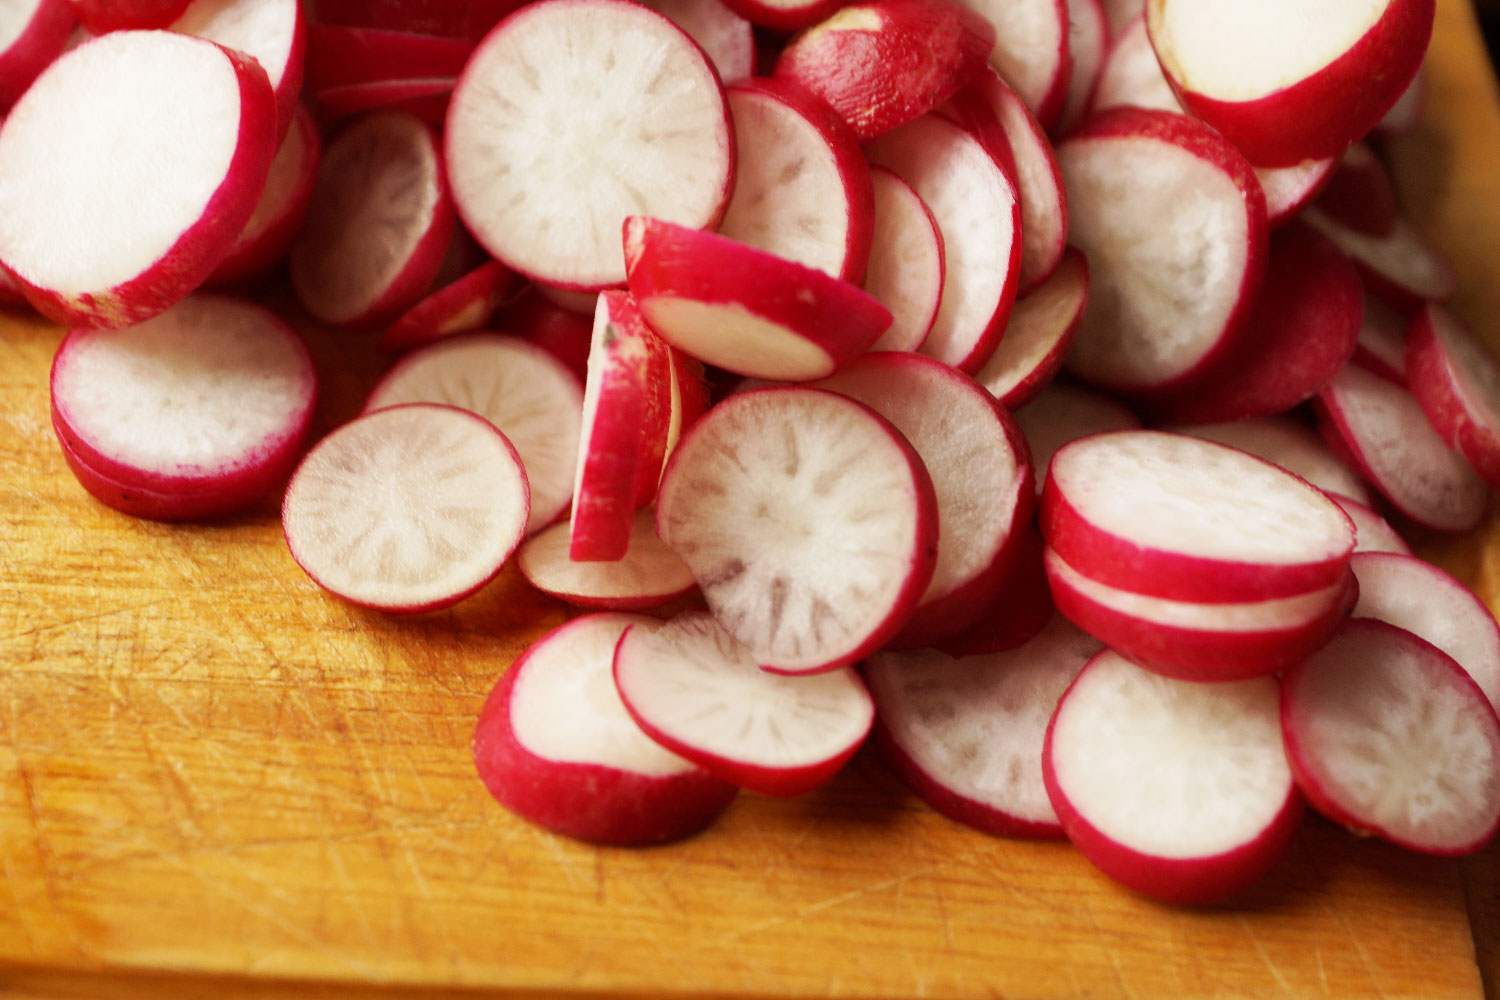
- About 500 g / 1 lb radish
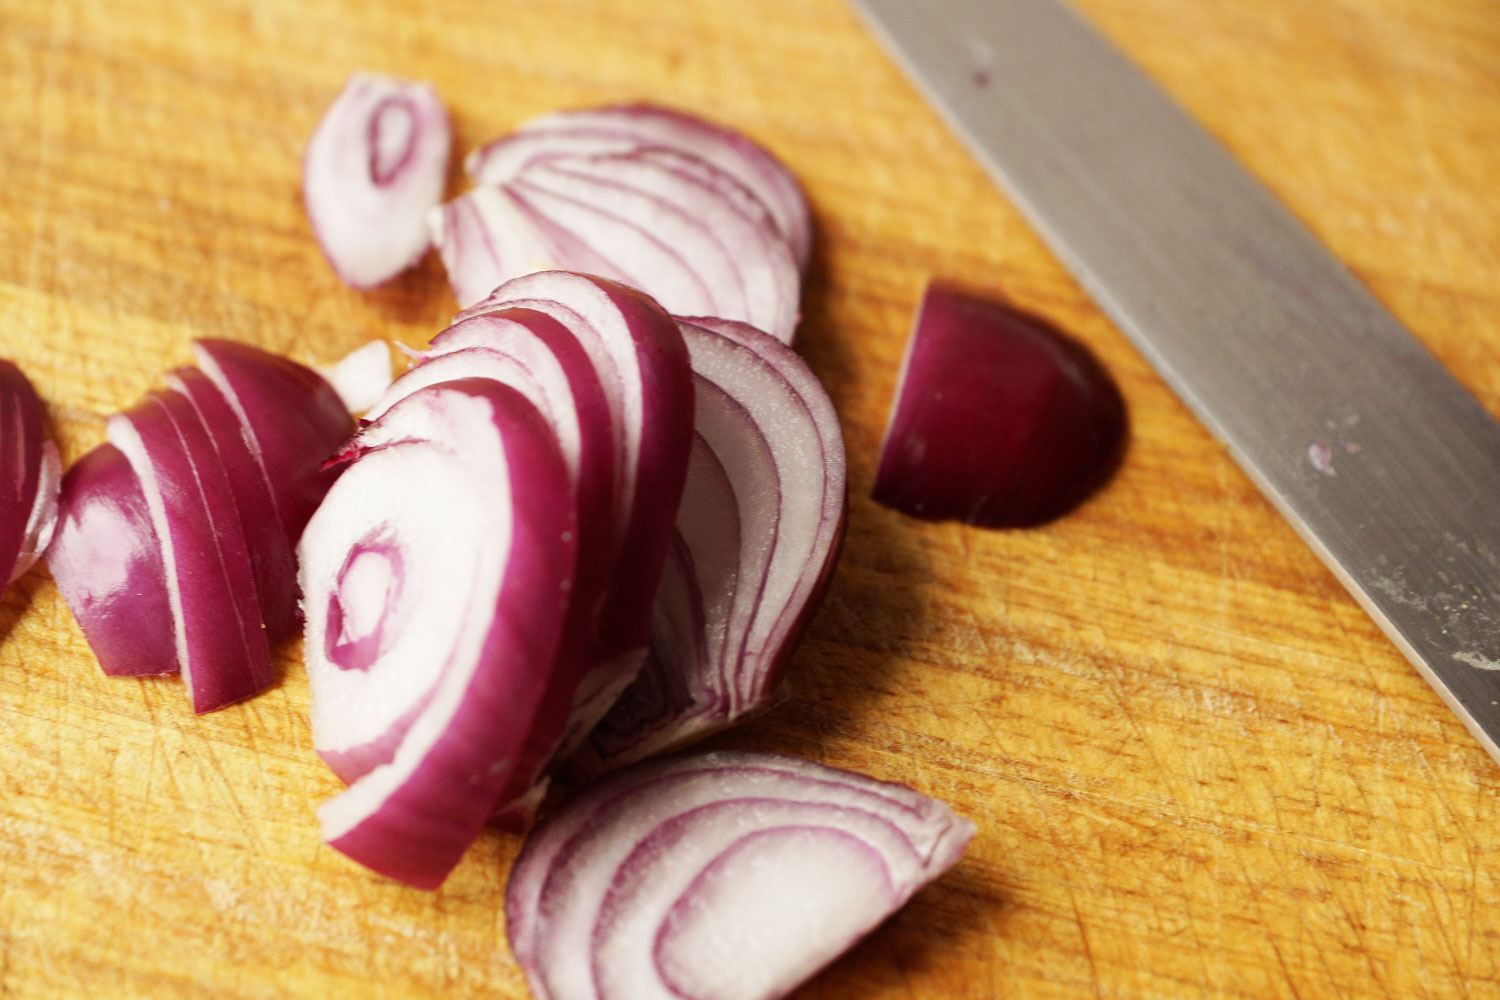
- 2 small red onions
- 4 gloves of garlic
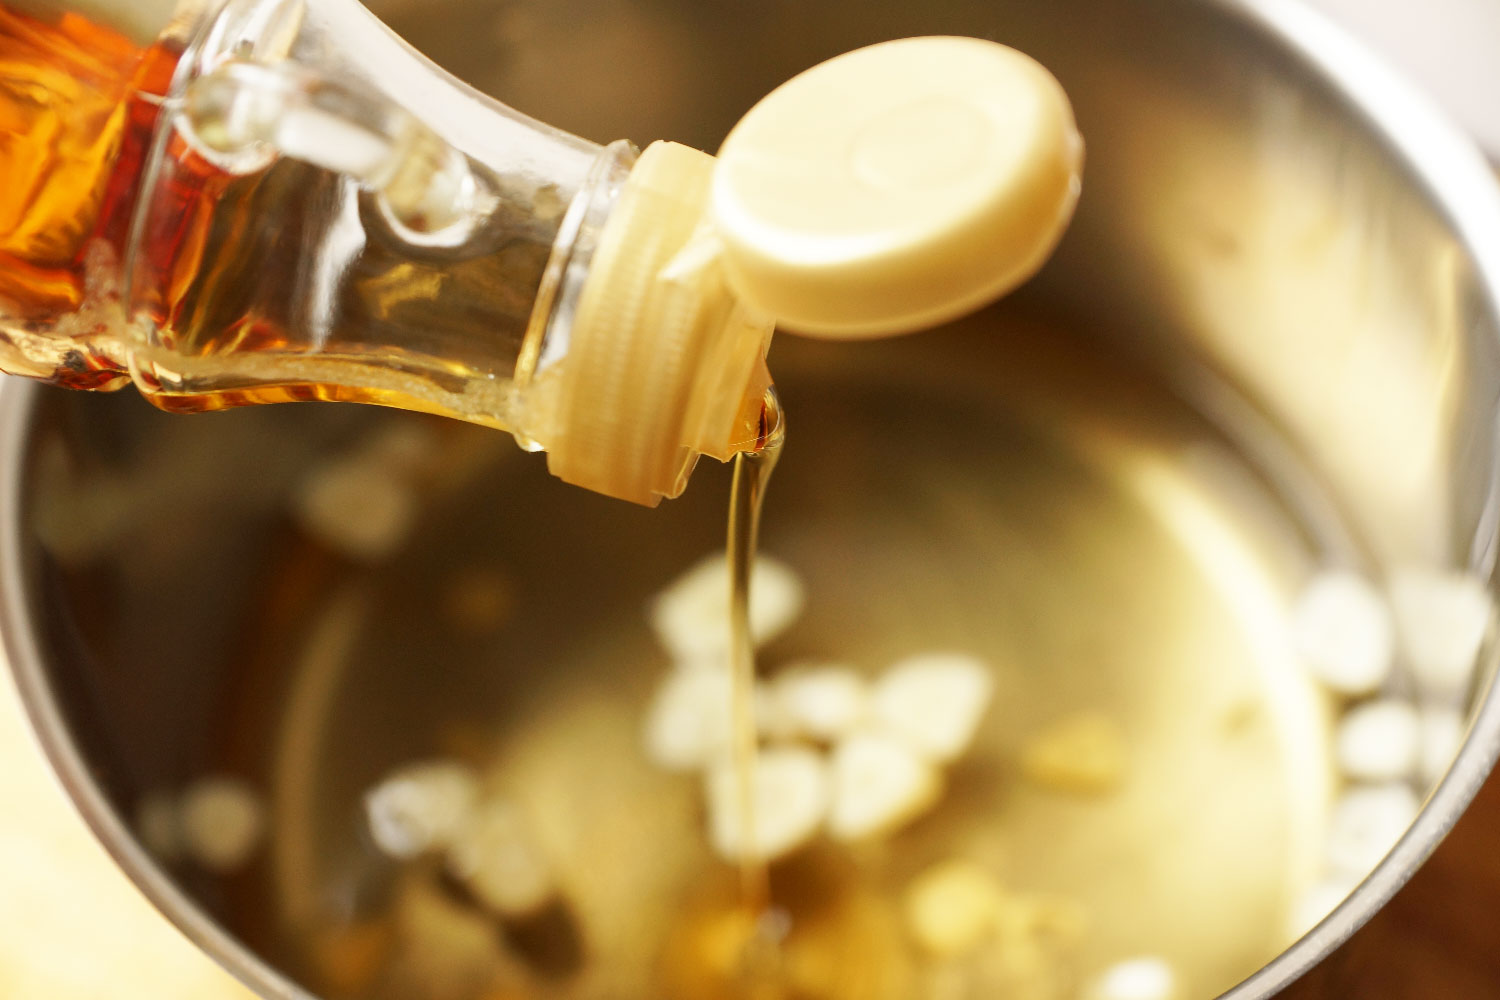
- 1/4 cup mapel syrup
- About 1 litre of water
What you wanna do?
1. Wash the radishes and cut up the stems then slice very thinly with a sharp knive or a mandolin slicer.
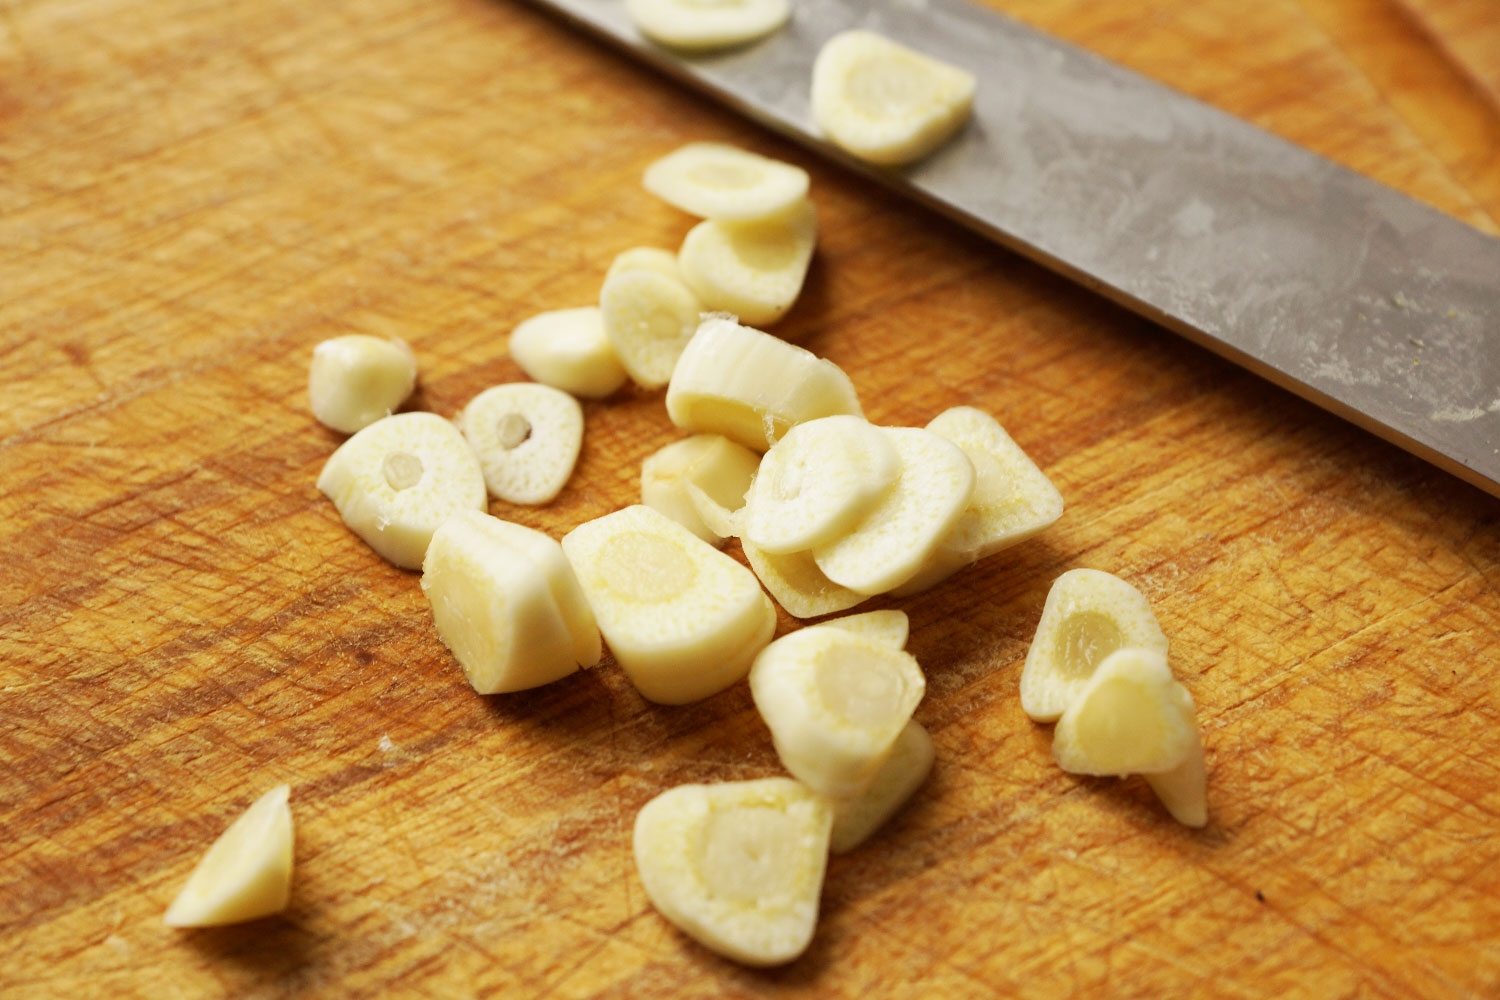
2. Peel the onions and the garlic. And slice both thinly.
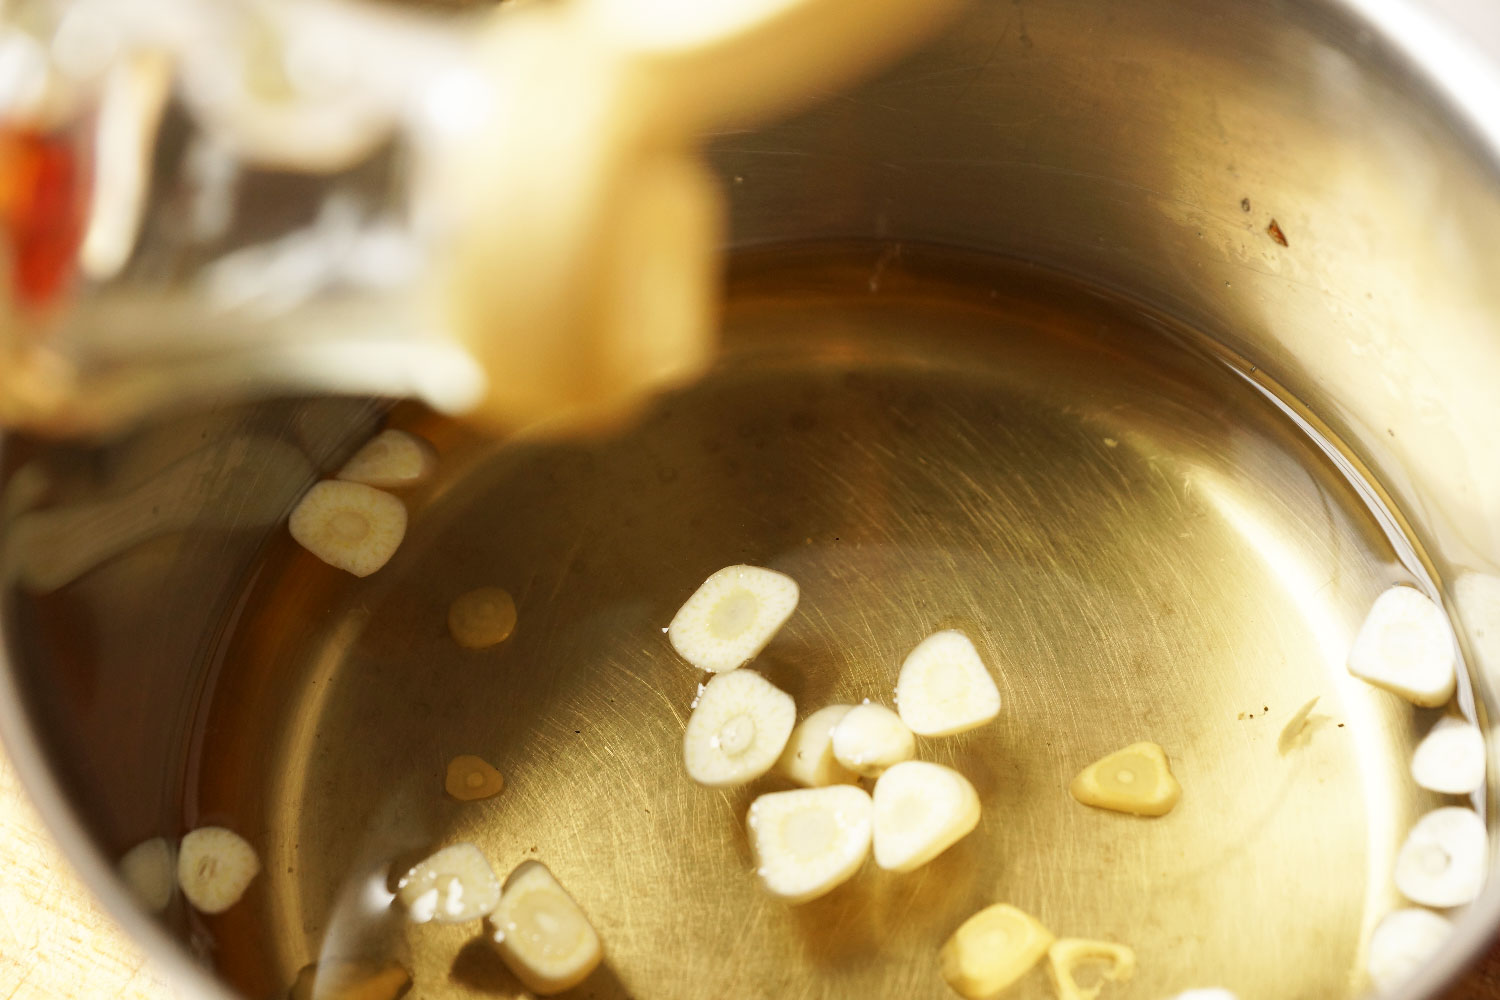
3. In a sauce pan add the water, the mapel syrup and the garlic and bring to a boil then turn down the heat and let simmer for about 20 minutes.
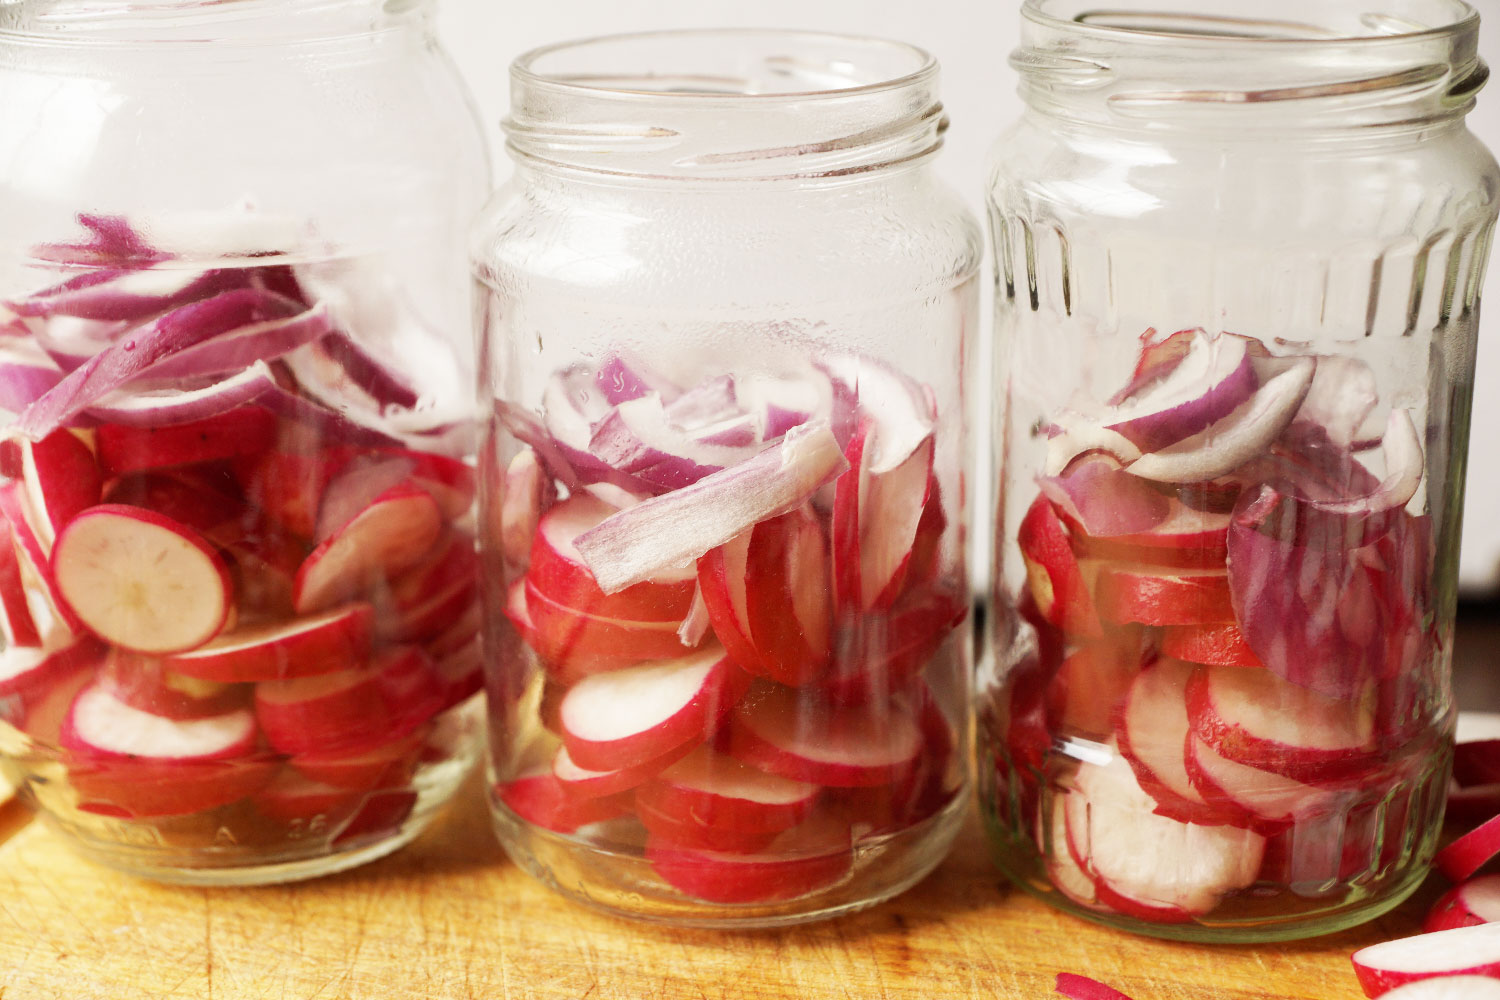
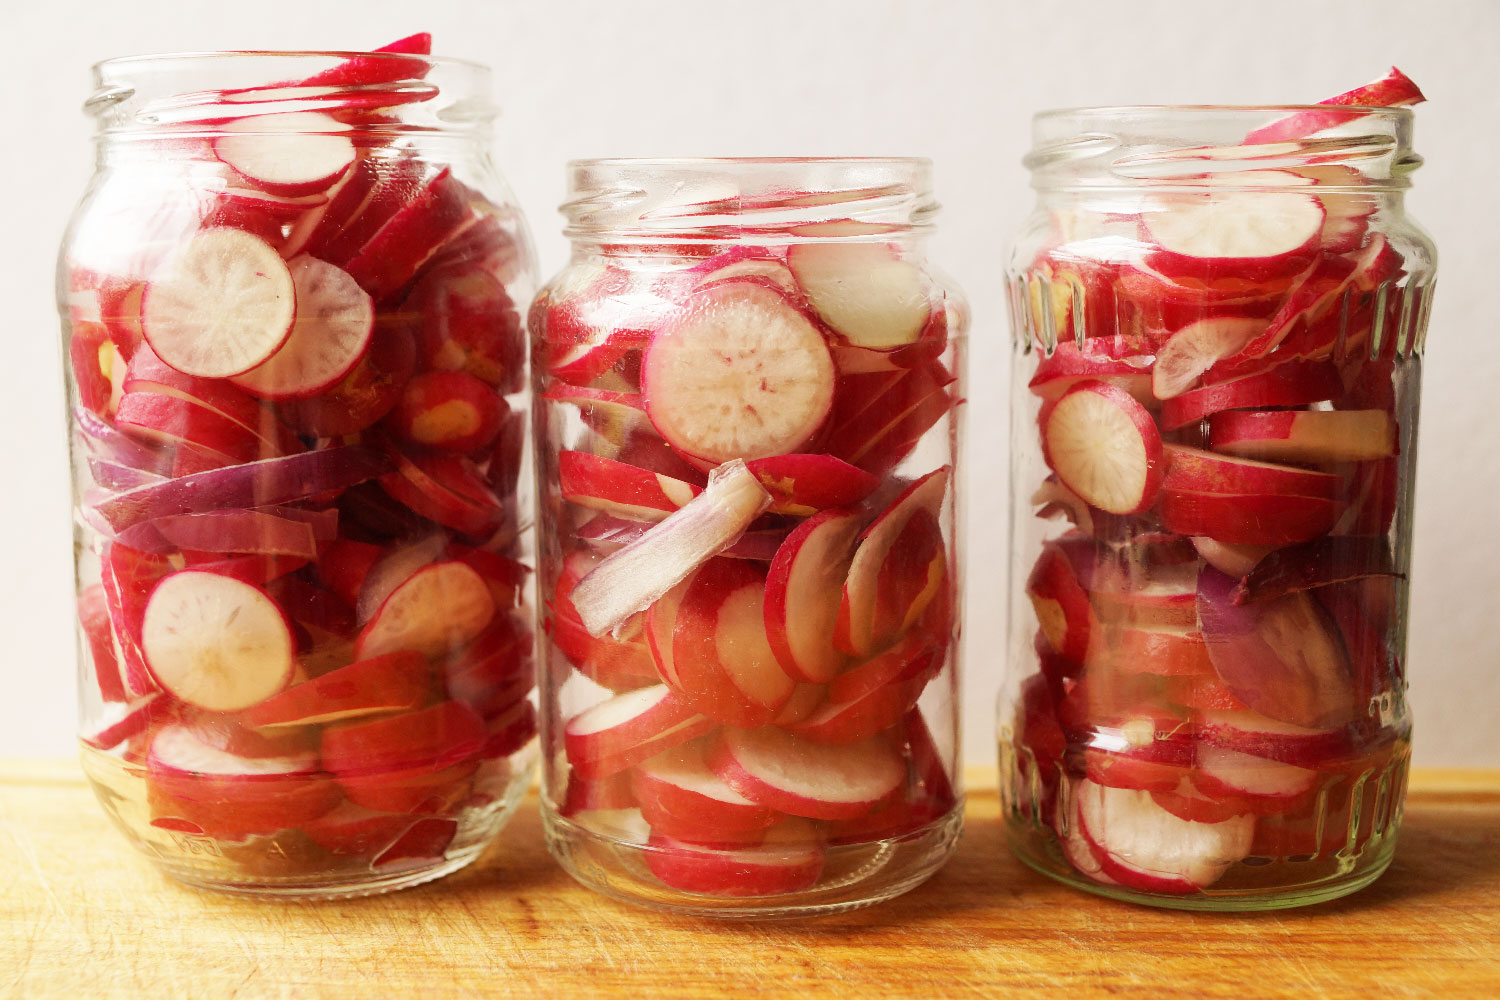
4. In the glass jars place the radishes and onion alternating one layer radish and one layer onion at a time. Note to layer until you reach 1cm/0.4 in underneath the top of the jar.
5. Whith a small ladle scoop the water-maple syrup-garlic mixture into the filled jars until the liquid is on top of the last layer.
6. Seal imediately with the lid and let cool down before placing it into the fridge. There you can keep it closed for up to several weeks.
Thank you so much fro reading.