Tag Archives: sugar free

Inspirational Friday: Raw vegan fig and nut cups

Raw vegan nut and fig cups with bananas | Rohkost, vegane Nuss und Feigen Küchlein mit Bananen

Hallo und einen wunderschönen Freitag Morgen! Es ist kaum zu glauben aber auch hier in Deutschland ist nun endlich der Sommer angekommen mit knackig heißen 30°C. Ich kann es kaum erwarten endlich wieder baden zu gehen.
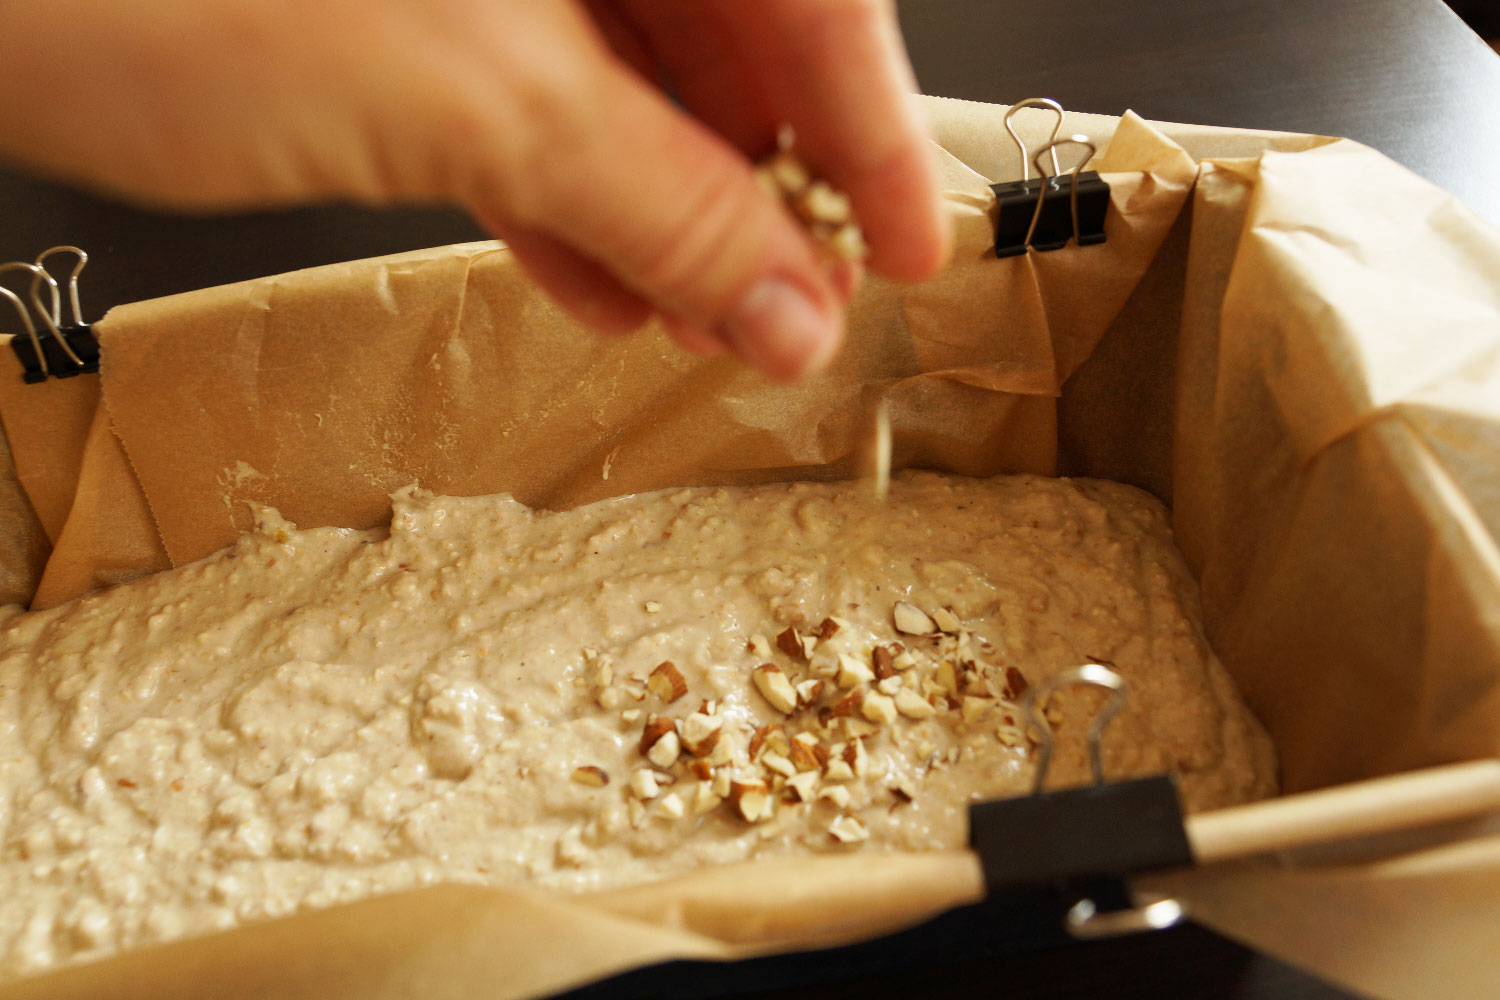
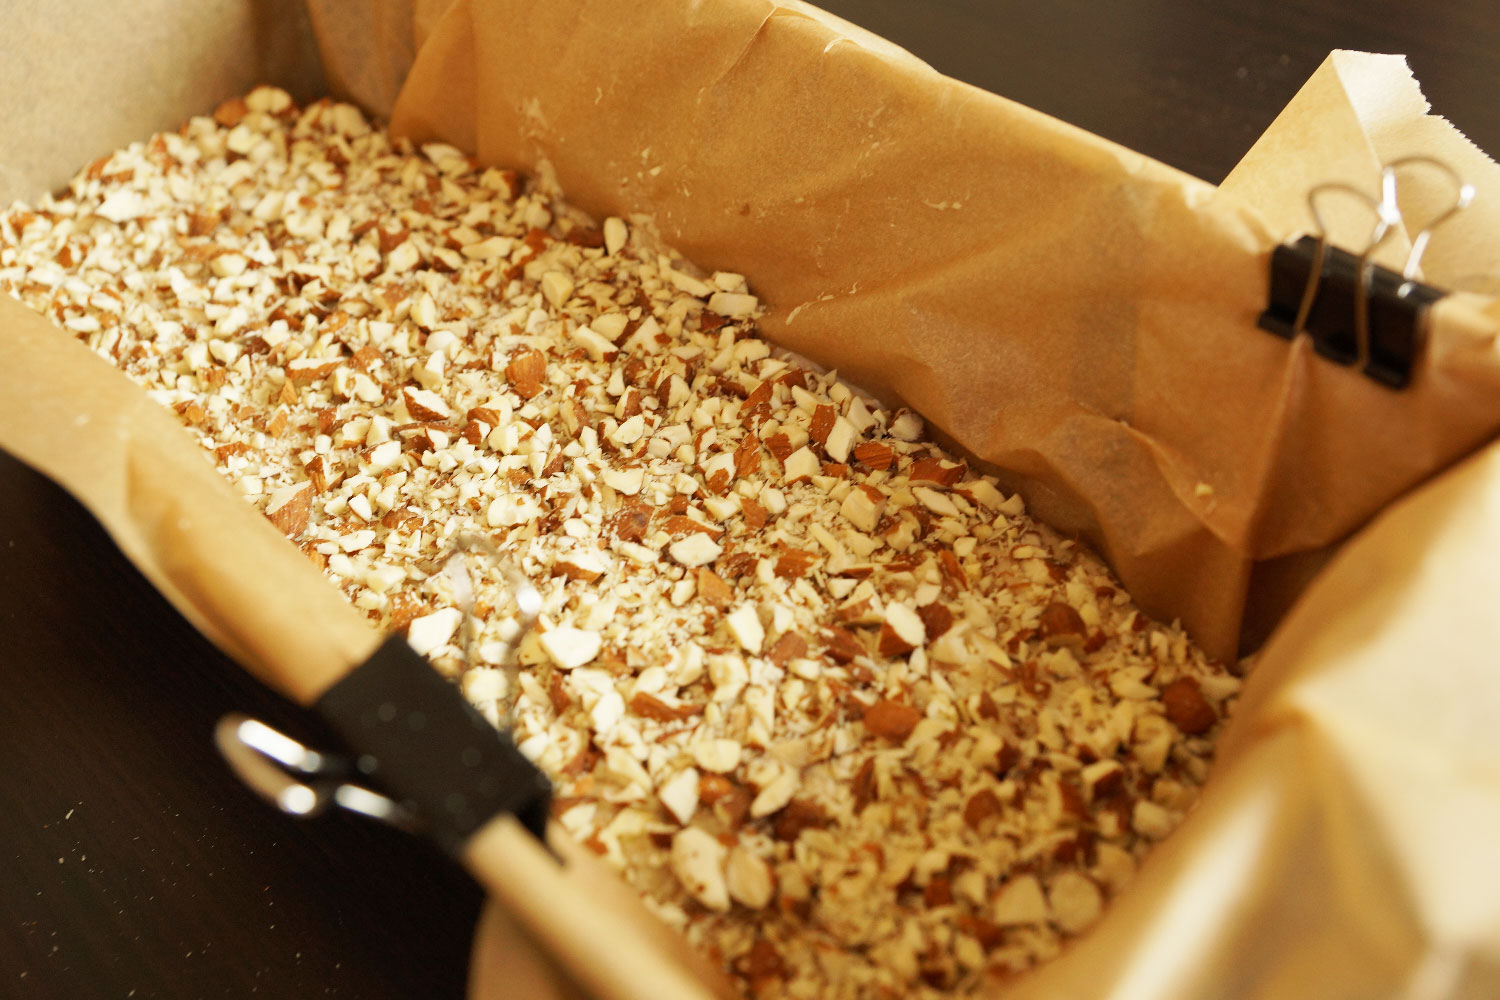
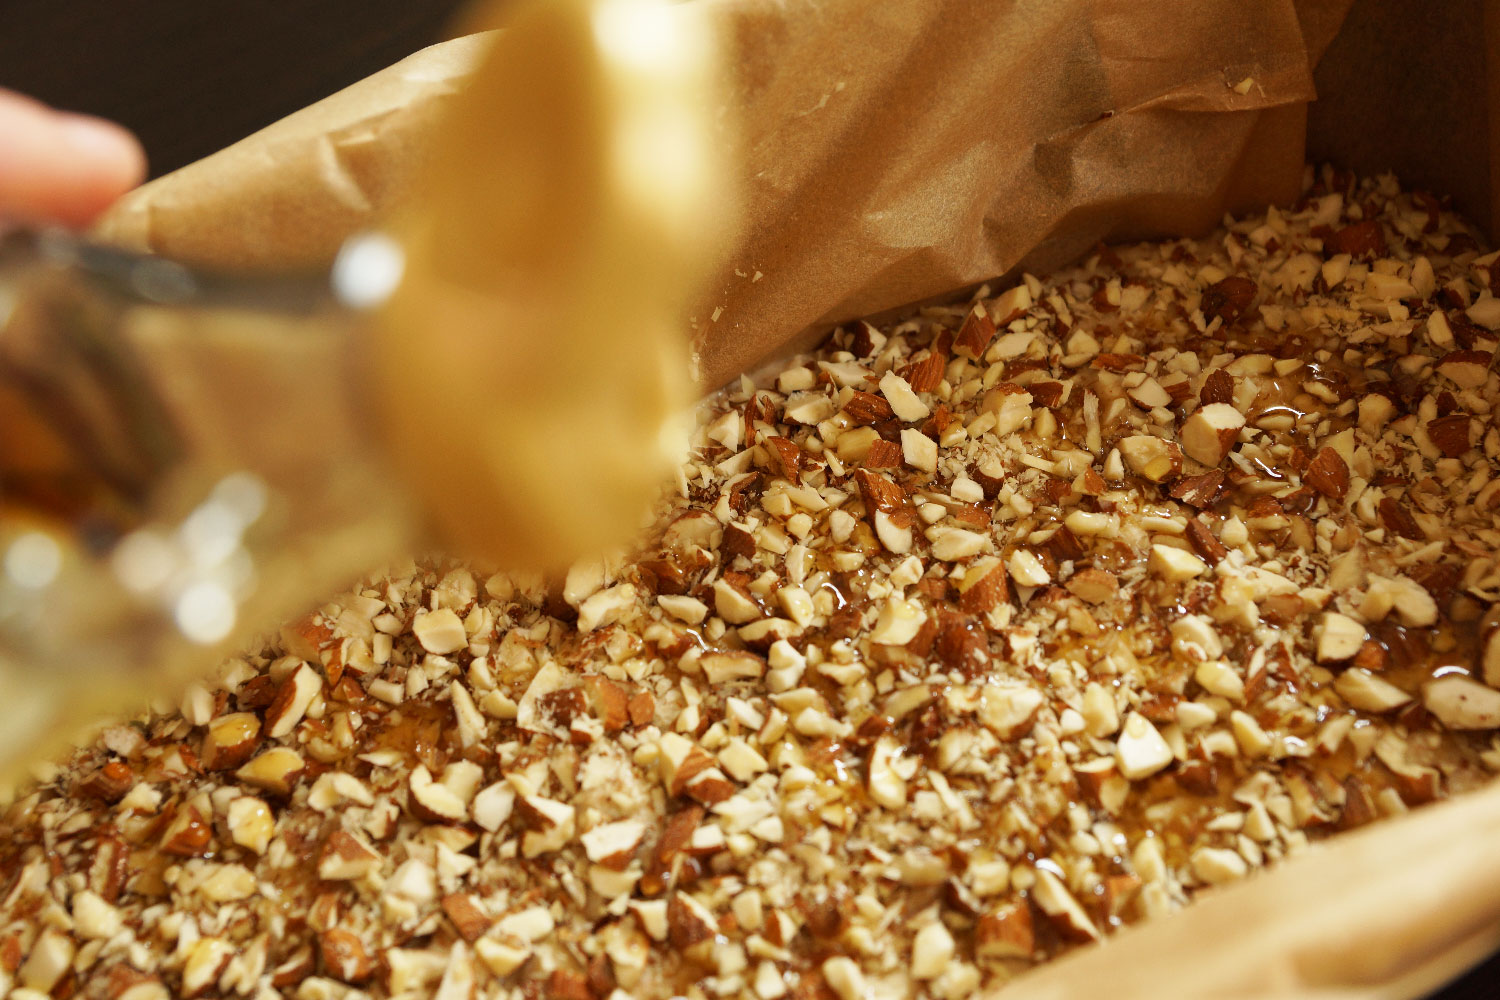
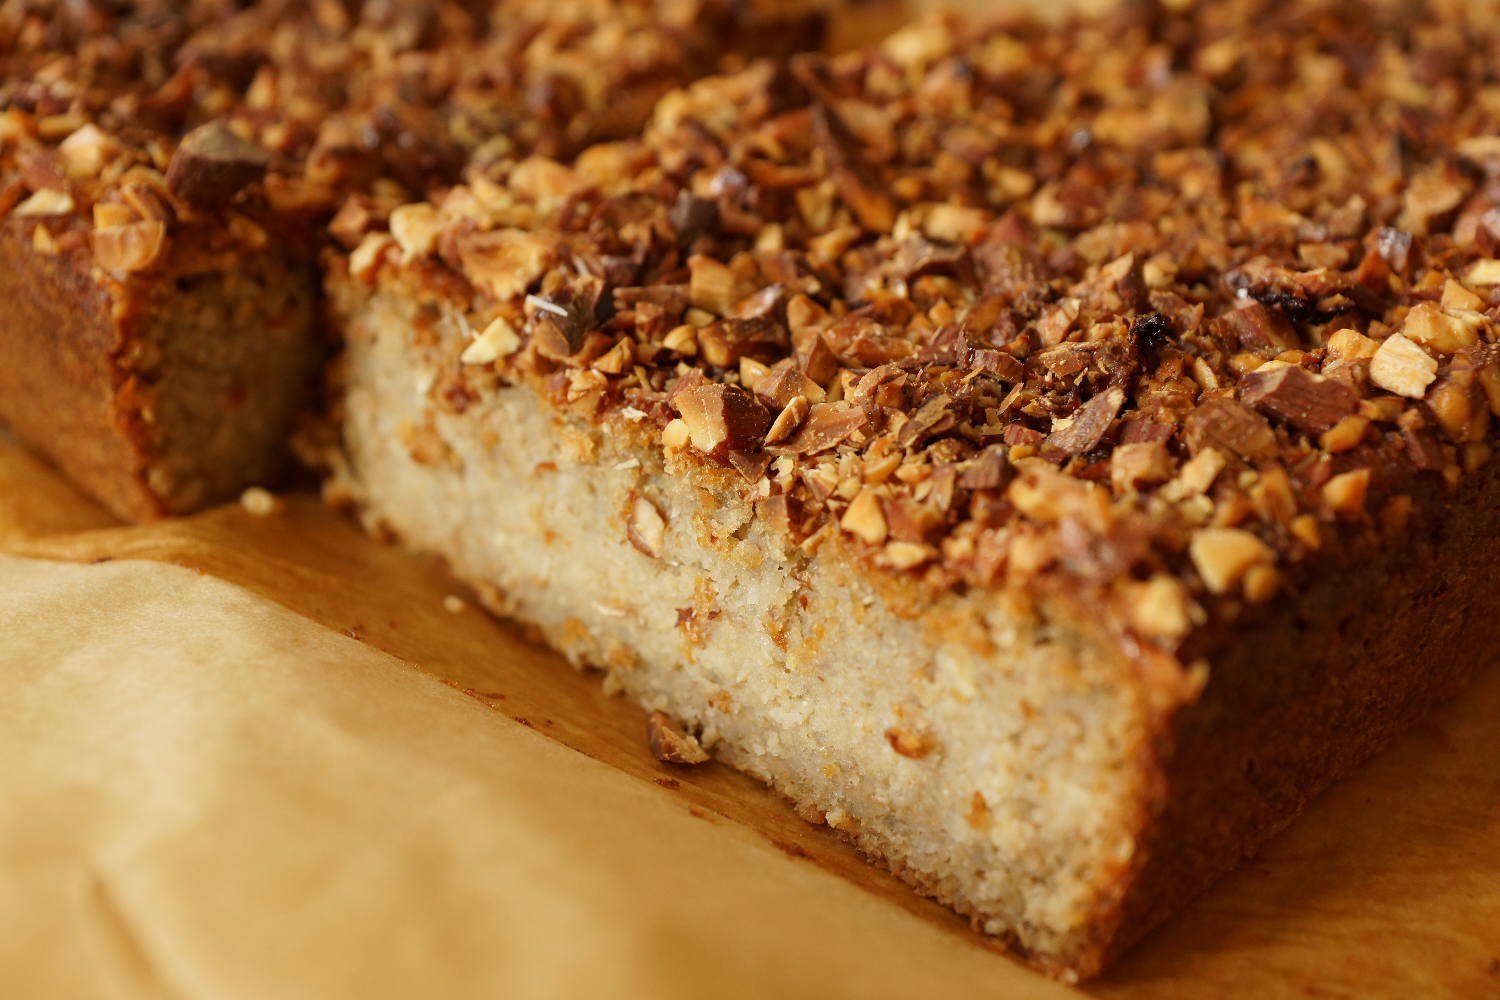
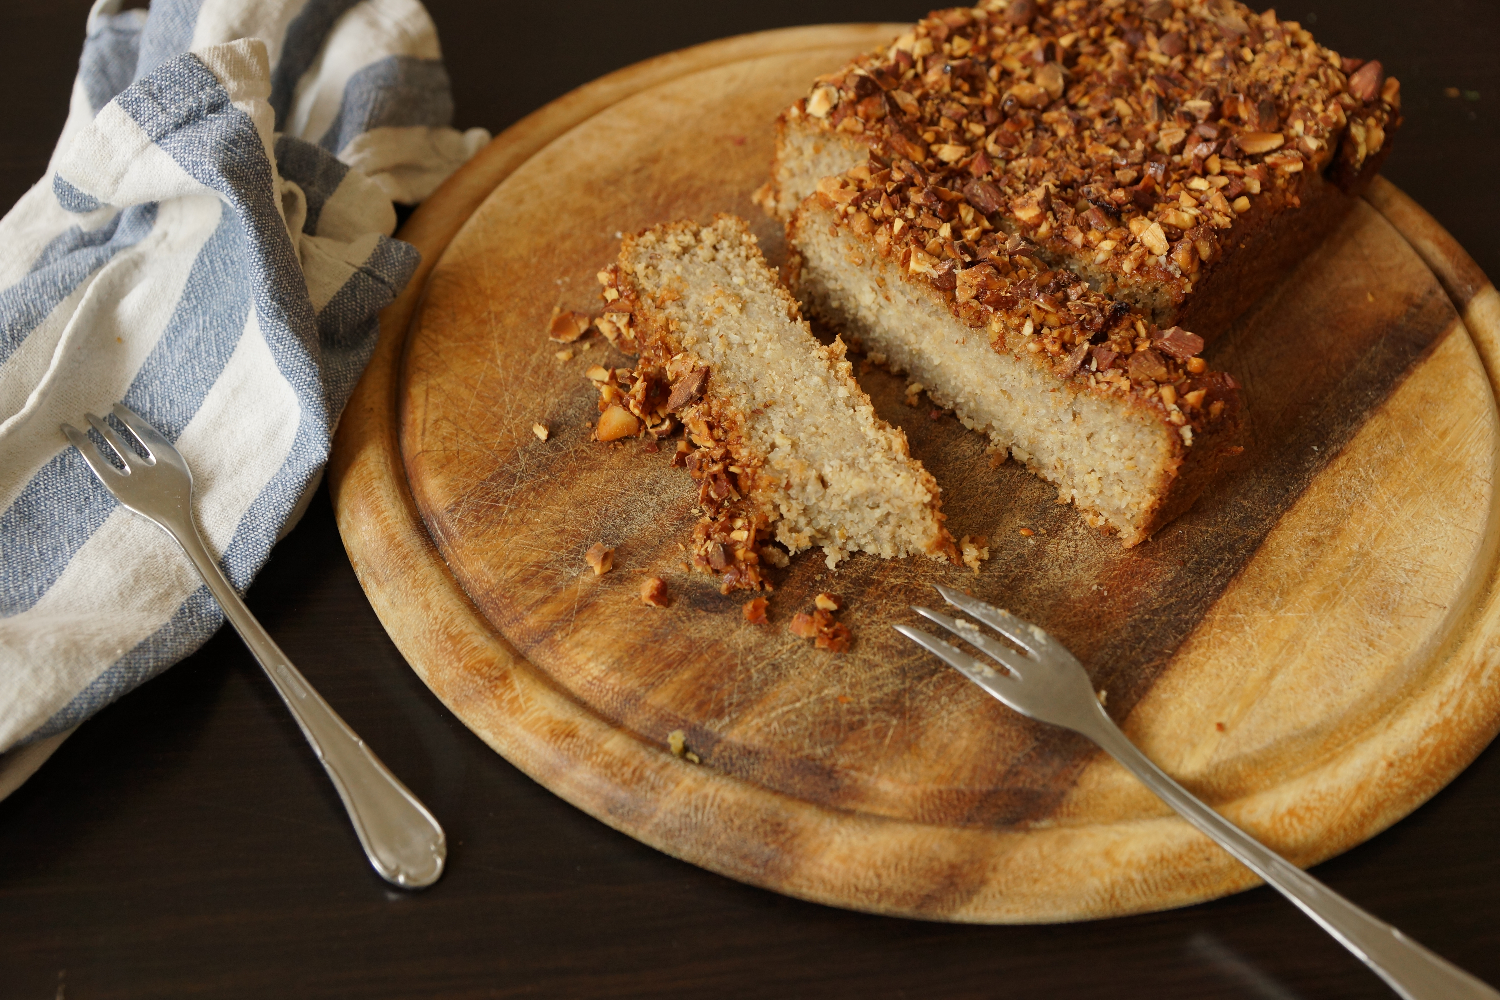
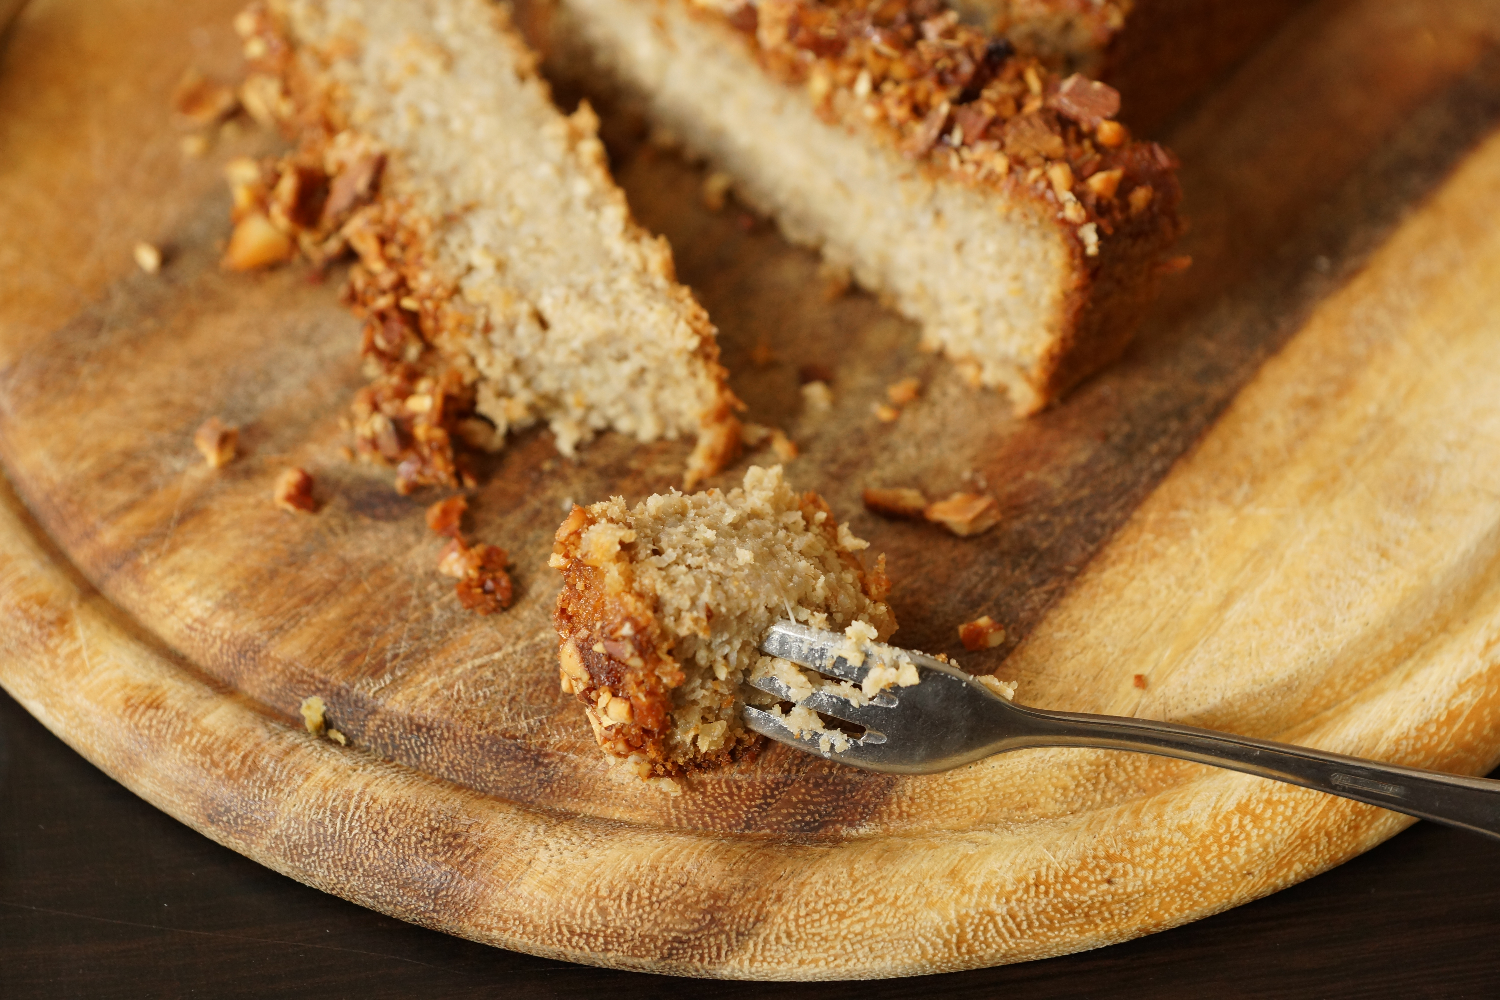
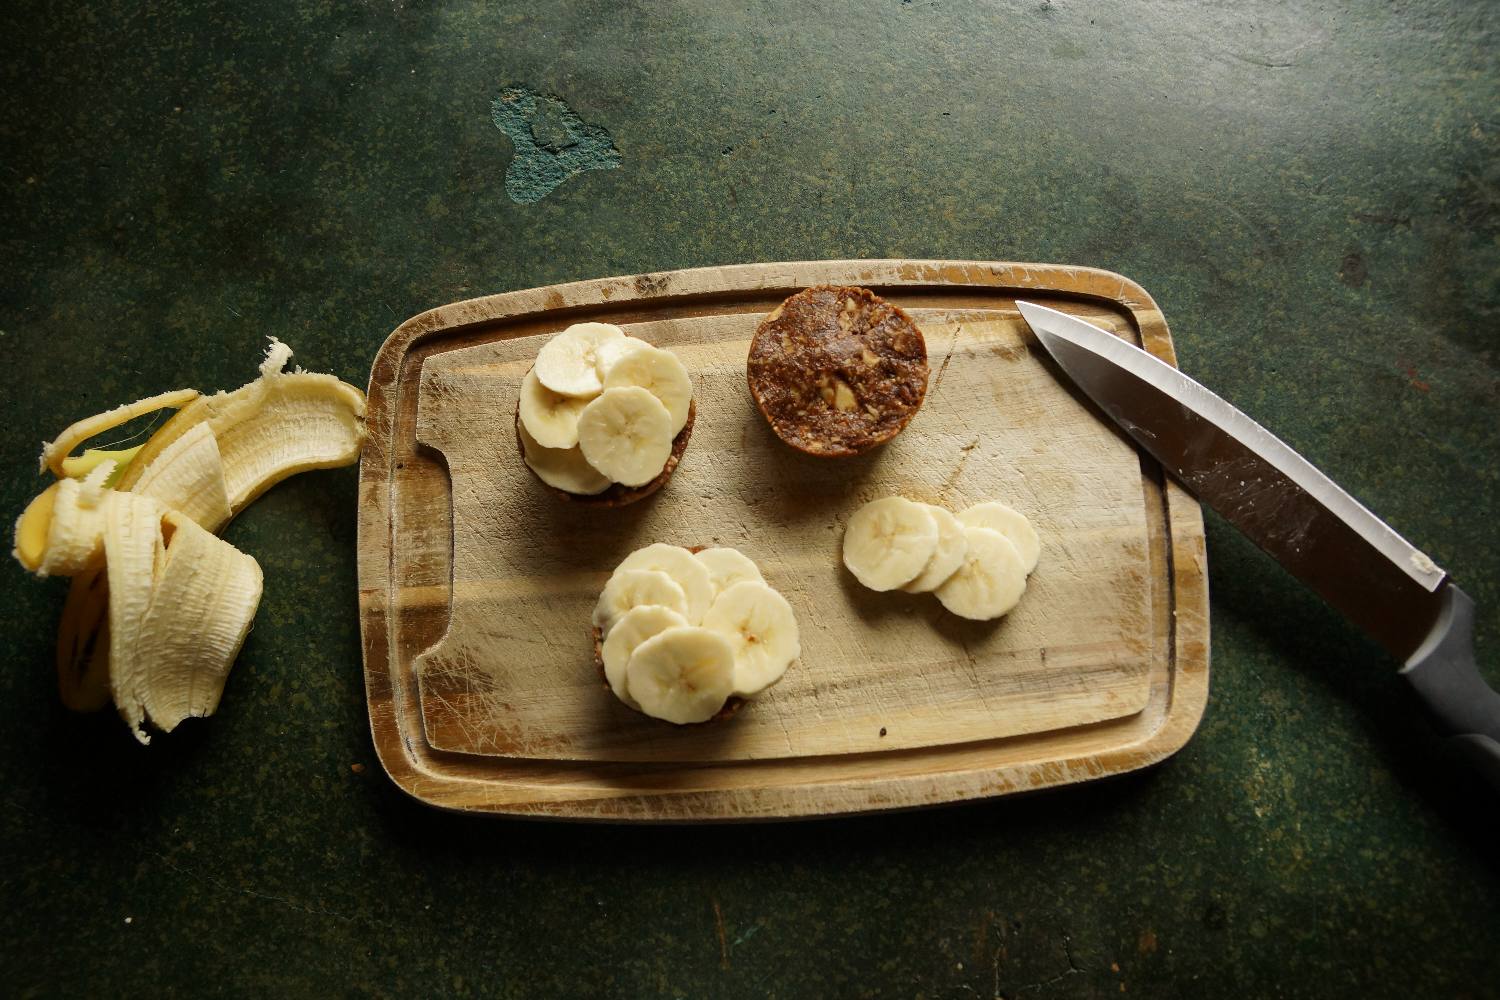
Die kleinen, veganen Rohkost Küchlein wollte ich euch allerdings nicht vorenthalten, falls ihr einen schnellen Snack für’s Wochenende braucht. Voller gesunder Fette, ohne Kristallzucker und super reichhaltig. Also perfekt für ein wenig Energie zwischendurch, gerade wenn man lernen muss. Das Gehirn braucht Nahrung ;-) Und sie sind super schnell gemacht.
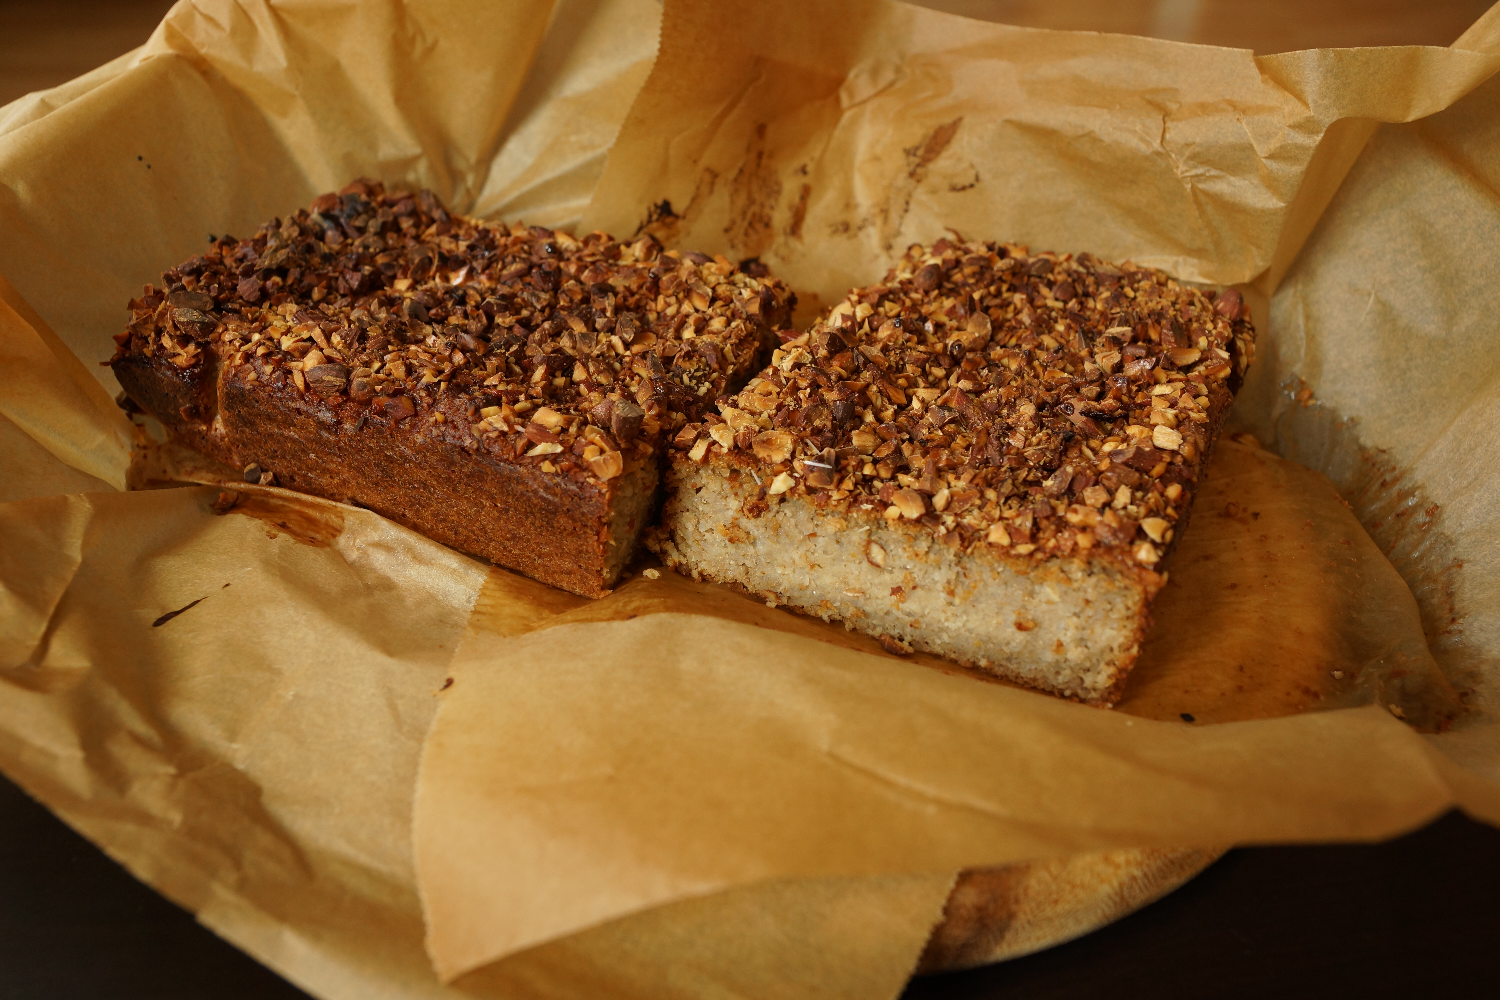
Das Rezept zu diesen Babies findet ihr auf dem Blog The Gratitude Project meiner lieben Freundin Ange. Für sie habe ich dieses Rezept erfunden.

Also probiert’s aus und habt ein tolles Wochenende …

—-

Hi and a wonderful Friday morning! It seems almost unreal, but finally summer has arrived here in Germany with melting 30°C. I can’t wait to go swimming again.
I really wanted to share those little raw, vegan cups with you, before you go into your well deserved weekend. They’re super rich, full of healthy fats and without refined sugars. So perfect for some energy, especially if your studying. Your brain needs food ;-) And they’re super easy and fast to make.
You can find the recipe for these babies over on my dear friend Ange’s Website The Gratitude Project. I created this recipe for her. She’s a beautiful australian babe by the way :-)

So try ’em out and have an amazing weekend…

Unterschrift_Elisa_Herz

Almond & Pear Bread (vegan, sugar free, gluten free)

Pear Bread | Birnenbrot | Birnenkuchen | LeBoer Pear Bread | Birnenbrot | Birnenkuchen | LeBoer Pear Bread | Birnenbrot | Birnenkuchen | LeBoer Pear Bread | Birnenbrot | Birnenkuchen | LeBoer Pear Bread | Birnenbrot | Birnenkuchen | LeBoer Pear Bread | Birnenbrot | Birnenkuchen | LeBoer Pear Bread | Birnenbrot | Birnenkuchen | LeBoer Pear Bread | Birnenbrot | Birnenkuchen | LeBoer Pear Bread | Birnenbrot | Birnenkuchen | LeBoer Pear Bread | Birnenbrot | Birnenkuchen | LeBoer Pear Bread | Birnenbrot | Birnenkuchen | LeBoer Pear Bread | Birnenbrot | Birnenkuchen | LeBoer

Das ist mal wieder eines dieser Rezepte mit Zutaten die “weg müssen”. Diesmal sind’s alte Birnen die schon so weich waren, das man sie kaum noch essen konnte. Aber gerade dann sind sie doch besonders süß. Da man auch für Bananenbrot ganz reife Bananen nimmt, dachte ich mir ist es mit den Birnen nicht anders. Gesagt getan und es ist umwerfend süß und saftig. Die süße Mandelkruste oben drauf rundet das Ganze noch ab. Super für einen Sonntagnachmittag ;-)

This is one of those recipes with ingredients that “have to go”. This time these are some overly ripe peras. Almost to soft to eat, but hey that’s exactly when they are super sweet. Since you use super ripe bananas for banana bread I thought why not make pear bread. Sooner said than done and the outcome is amazing. Really moist and sweet. The sweet and crunchy almond crust tops it all. Perfect for a laid back Sunday afternoon ;-)

Recipe (yields a large loaf)

What you’ll need

  • 5-6 smaller super ripe and soft pears
  • 1 cup coconut oil (or any other vegetable oil with a mild flavor)
  • 2 Tbsp. apple cider vinegar
  • 1/2 cup mapel syrup and some to sprinkle on top
  • 3/4 cup almonds
  • 1 cup oats (gluten free if you want)
  • 2 cups buckwheat flour (I make my own by placing buckwheat in a blender)
  • 1 tsp. baking powder

What you wanna do
1. Wash and core the pears then place them in a blender and blend until really smooth.
2. To the pear mash add all other wet ingredients and blend really well.
3. Add all dry ingredients to the mixture except the almonds and blend really well. Place the dough in a lined rectangular cake tin.
4. With a sharp knife chop up the almonds into little pieces.
5. Top the dough with the chopped almonds and then drizzle with maple syrup.
6. Bake in the oven for about an hour or until a toothpick comes out clean on 180°C/356°F.


Thank you so much for reading!

Elisa

Pickled Radish

Pickled Radish | Eingelegte Radieschen Pickled Radish | Eingelegte Radieschen Pickled Radish | Eingelegte Radieschen Pickled Radish | Eingelegte Radieschen Pickled Radish | Eingelegte Radieschen Pickled Radish | Eingelegte Radieschen Pickled Radish | Eingelegte Radieschen Pickled Radish | Eingelegte Radieschen Pickled Radish | Eingelegte Radieschen Pickled Radish | Eingelegte Radieschen Pickled Radish | Eingelegte Radieschen Pickled Radish | Eingelegte Radieschen

Ich mag Radieschen nicht besonders, aber in Knoblauch und Zwiebeln eingelegt sind sie super. Ich hatte vor kurzem eine große Tüte voll mit Radieschen vom meiner Mama bekommen und sie gleich eingelegt. Super lecker. Ich habe den Zucker mit einer gesünderen Alternative substituiert und dafür Ahornsirup verwendet. Den Unterschied schmeckt man nicht wirklich. Guter Tausch!

I don’t really like radish but I do eat them pickled with onion and garlic. A couple of weeks ago I got a big batch of radishes from my mom and pickled them immediately. Super tastey. I substituted the sugar for a more healthy alternative. Maple syrup that is and you can’t really taste the difference. Pretty good exchange!

Recipe (yields about 3 x 250ml/8 oz jars)

What you’ll need?

  • About 500 g / 1 lb radish
  • 2 small red onions
  • 4 gloves of garlic
  • 1/4 cup mapel syrup
  • About 1 litre of water

What you wanna do?
1. Wash the radishes and cut up the stems then slice very thinly with a sharp knive or a mandolin slicer.
2. Peel the onions and the garlic. And slice both thinly.
3. In a sauce pan add the water, the mapel syrup and the garlic and bring to a boil then turn down the heat and let simmer for about 20 minutes.
4. In the glass jars place the radishes and onion alternating one layer radish and one layer onion at a time. Note to layer until you reach 1cm/0.4 in underneath the top of the jar.
5. Whith a small ladle scoop the water-maple syrup-garlic mixture into the filled jars until the liquid is on top of the last layer.
6. Seal imediately with the lid and let cool down before placing it into the fridge. There you can keep it closed for up to several weeks.


Thank you so much fro reading.

Elisa